StarterPrivate backyard
The backyard corner village
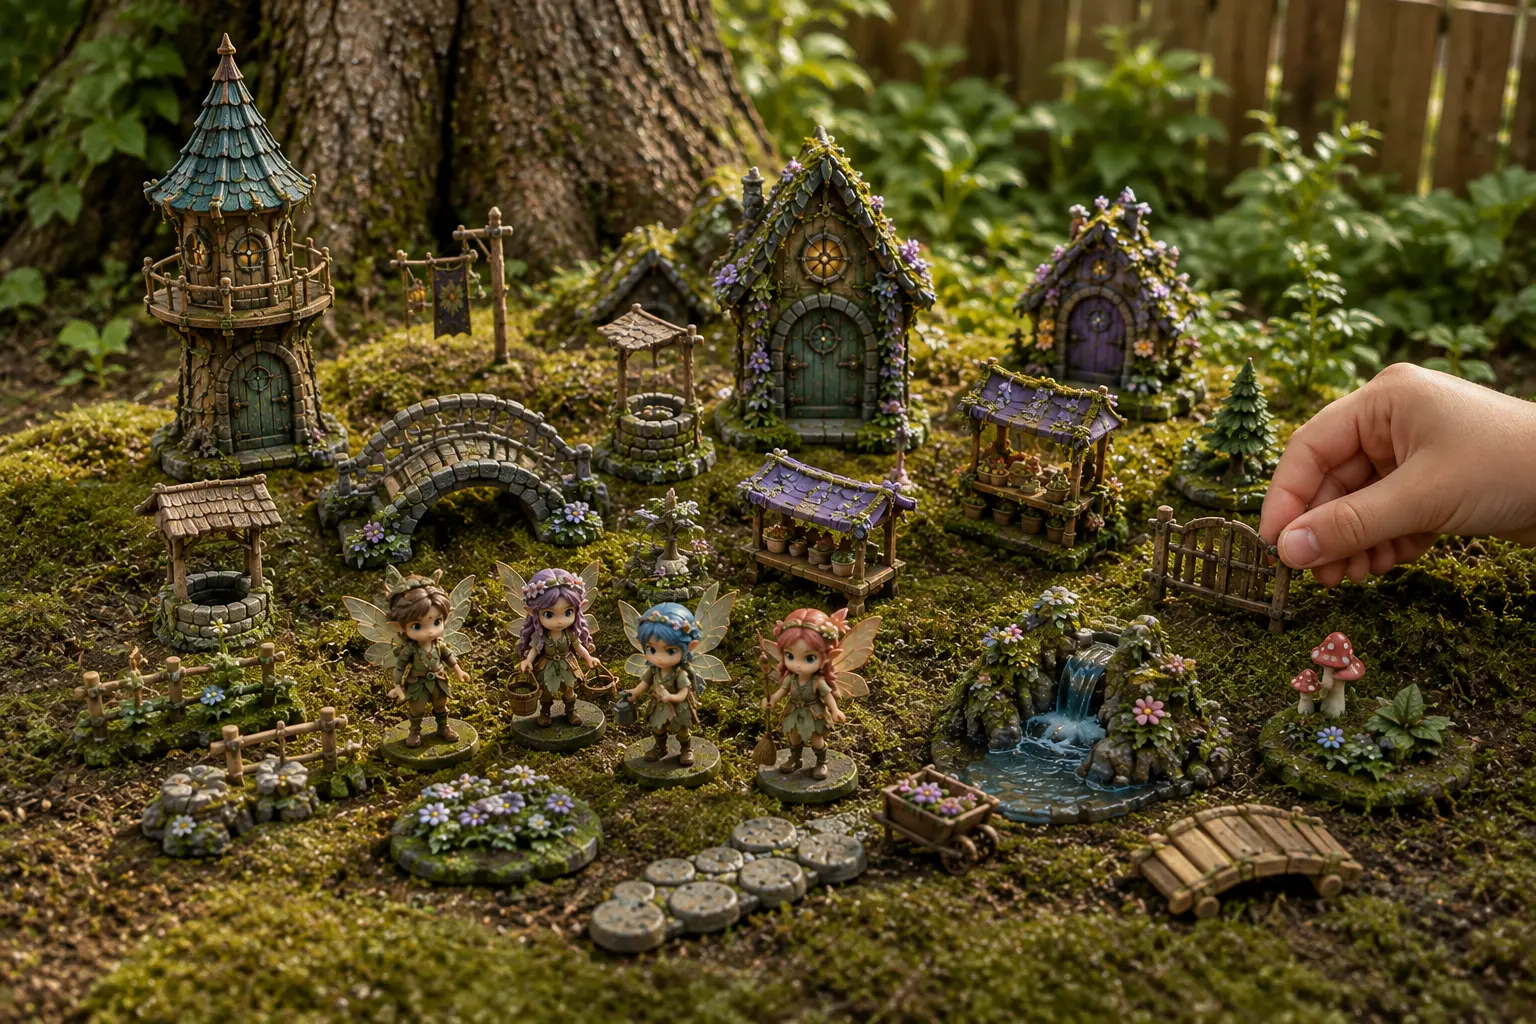
A first village for a shaded corner of your own garden: one dwelling, a short path and a small gathering place, all removable.
- Size:
- Small — about 60 x 60 cm
- Time:
- 1 to 2 hours
Open the guide
Feywild Villages
A Feywild Village is a tiny settlement you build outdoors — in a garden corner, a planter or on a windowsill. You choose the spot, tell the story, tend it through the seasons, and take it home again when you are done.
What they are
In Gemnix Terra, gems wake in quiet places. Sometimes a trace of that power slips across into our world — and where it lands, a village grows. Building one is how a family keeps the story going between games, books and screens.
A shaded corner, a planter or a windowsill is enough. The first decision is where the trace came through.
Everything rests on the surface or on its own base. No digging, no fixing to living trees, nothing left behind.
Villages change. Straighten what shifts, lift pieces before storms and mowing, and add one line of story each visit.
Build a village
Each guide lists where it belongs, how long it takes, what you need, and the safety and nature rules that apply before you begin.
A first village for a shaded corner of your own garden: one dwelling, a short path and a small gathering place, all removable.
Open the guide
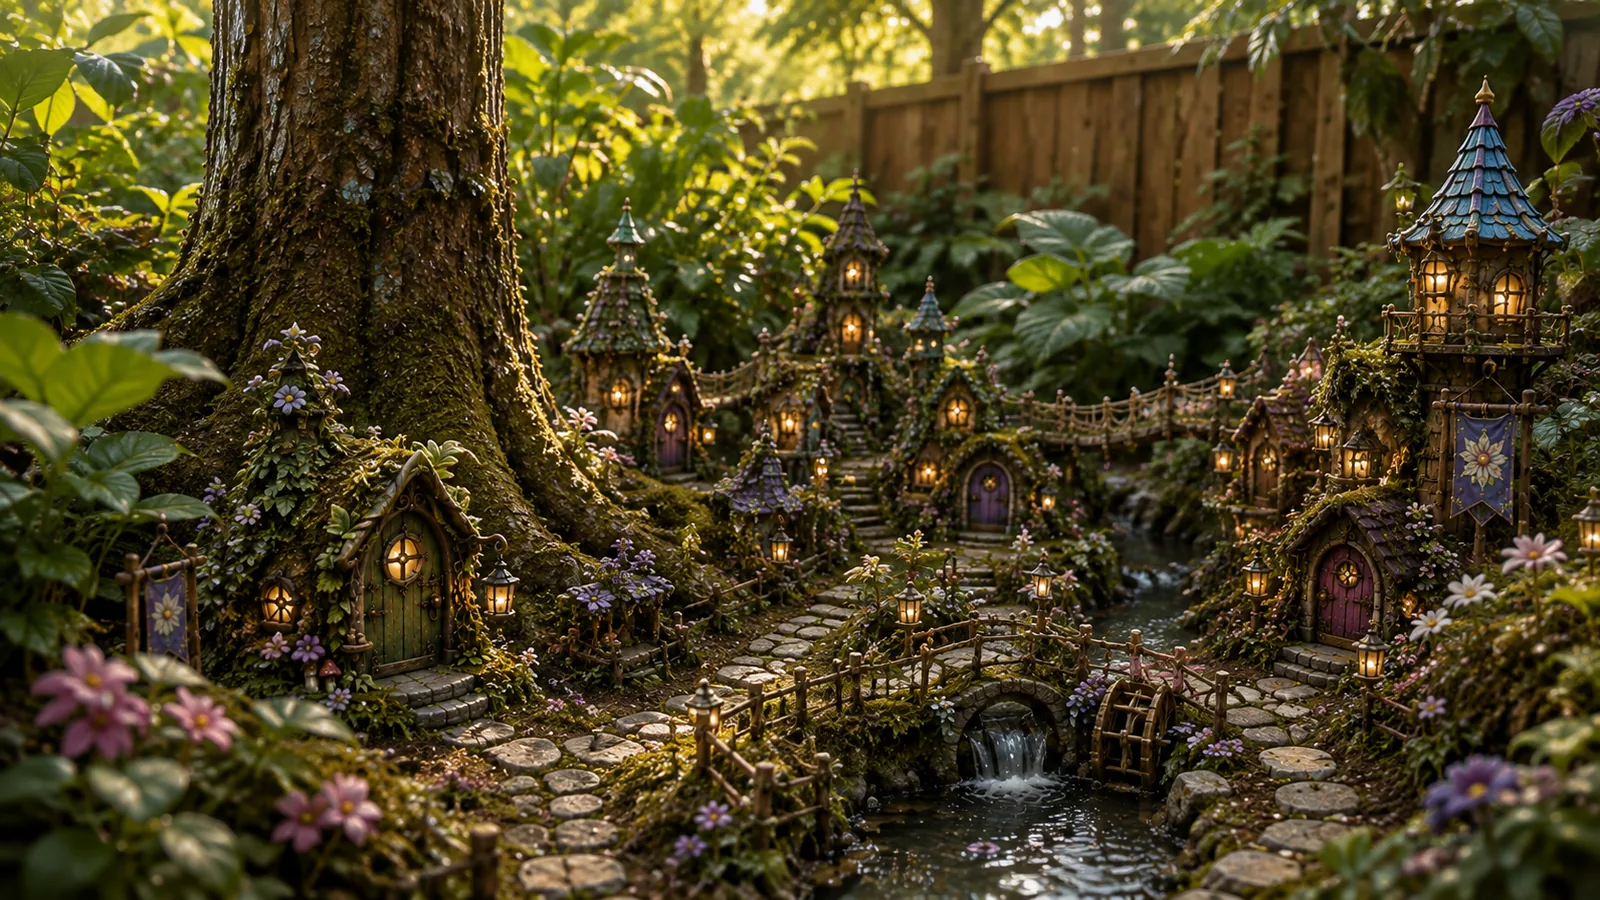
A medium village that stays put: lantern-lit dwellings and a recirculating waterfall seated into a prepared bed in your own garden.
Open the guide
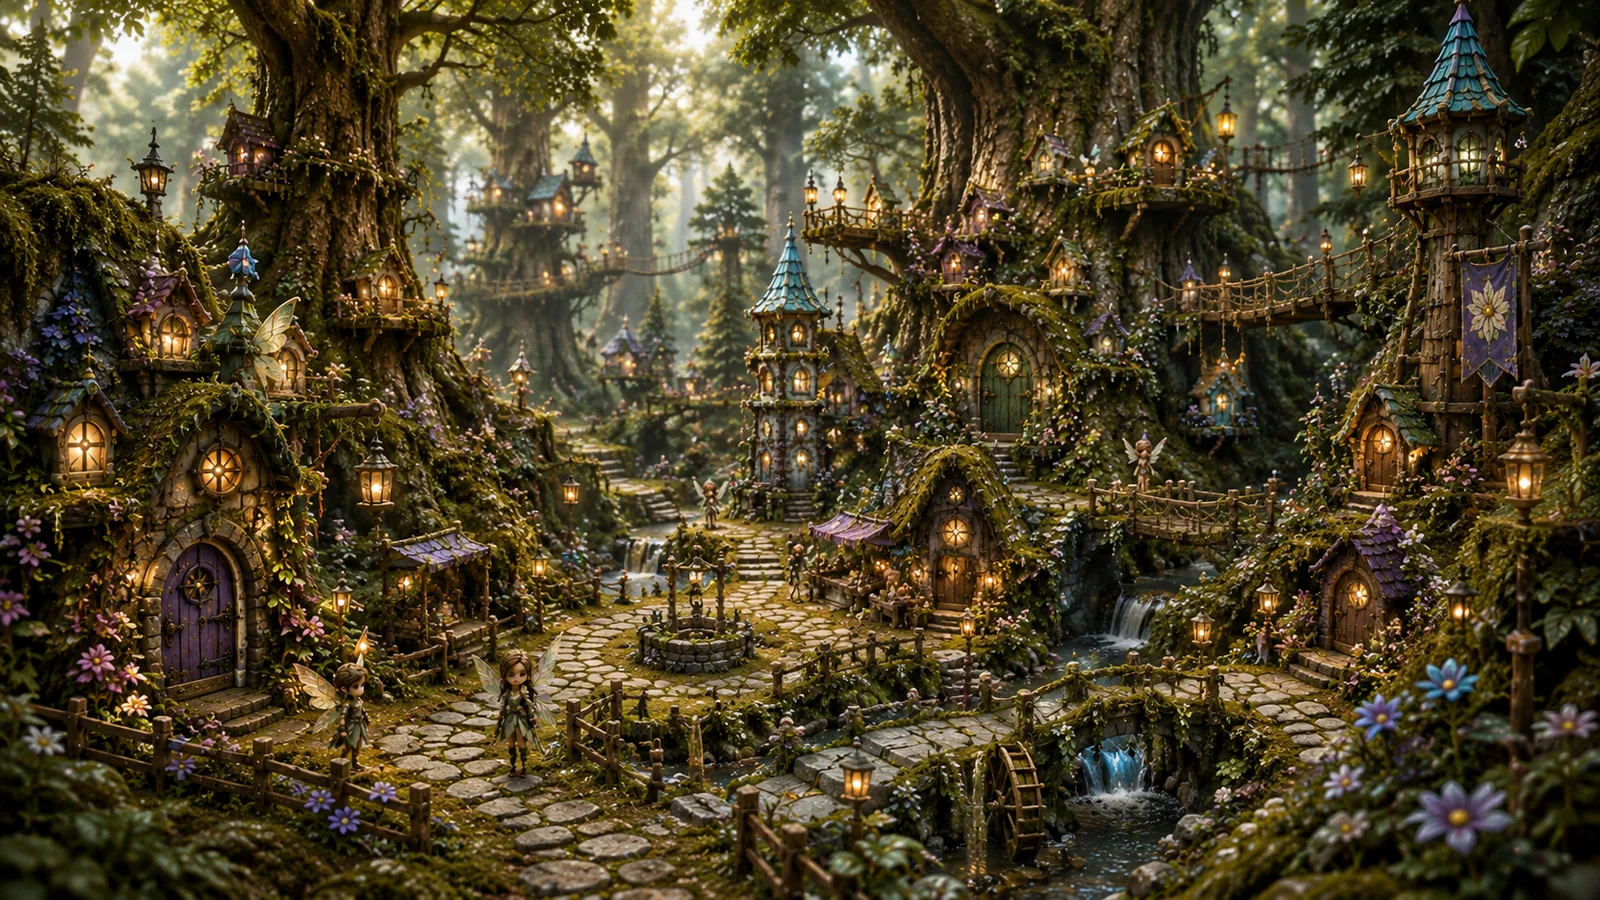
A seasonal village built with a school, camp, park or community group under a written agreement with the land manager.
Open the guide
Things to do
No purchase needed. Each activity says who it suits and roughly how long it takes, so a grown-up can pick one that fits the afternoon.
Showing 6 of 6 activities.
Every village needs a name and a reason. Was it built by wanderers from the Air, or crafters from the Earth? Say the name out loud, then write it on a card and keep the card indoors.
Collect loose pebbles or bark that are already lying on the ground and lay a winding path. Curves feel further to travel than straight lines do.
Before you build, look. Count the beetles, birds, worms and plants you can see. Choose a spot that does not sit on top of any of them.
Each time you visit, add one sentence about what happened in the village since you left. By the end of a season you will have a chapter.
Map the dwellings, the path, the gathering place and the portal. Mark north, and mark where the trace of Gemnix came through.
Photograph the village from the same spot each season. Nothing shows the passing of a year better than the same corner in four kinds of light.
Grown-ups: please read the care, safety and nature rules before an outdoor activity, and see information for parents.
Village pieces and props
Kits, sets and single pieces designed to be placed rather than fixed, and to be lifted out again without a trace.
A small removable village kit for a backyard corner: two dwellings, a bridge, a sign and a lantern.
$89.99USD
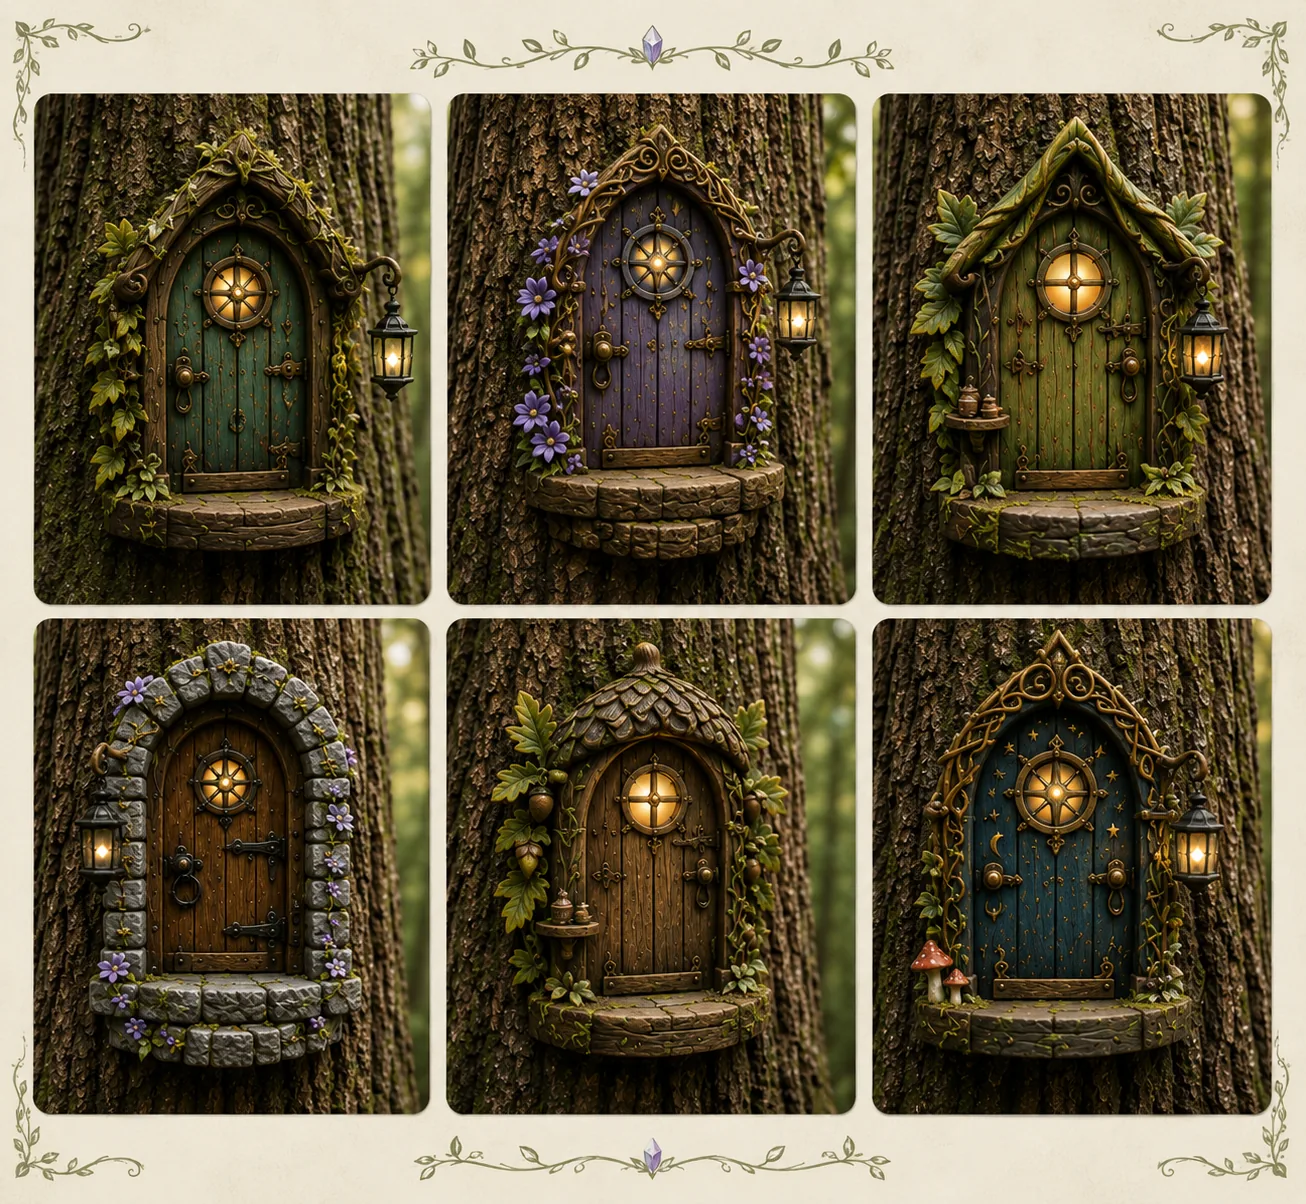
View detailsSix hand-finished doors that rest against a trunk or wall to mark where a trace of Gemnix crossed over.
$29.99USD
View detailsA medium permanent village installation with lantern lighting and a running waterfall stream, built to stay in place season after season.
$189.99USD
View detailsGallery
Every village shown here rests on the surface, sits away from paths and habitats, and was lifted out again afterwards.
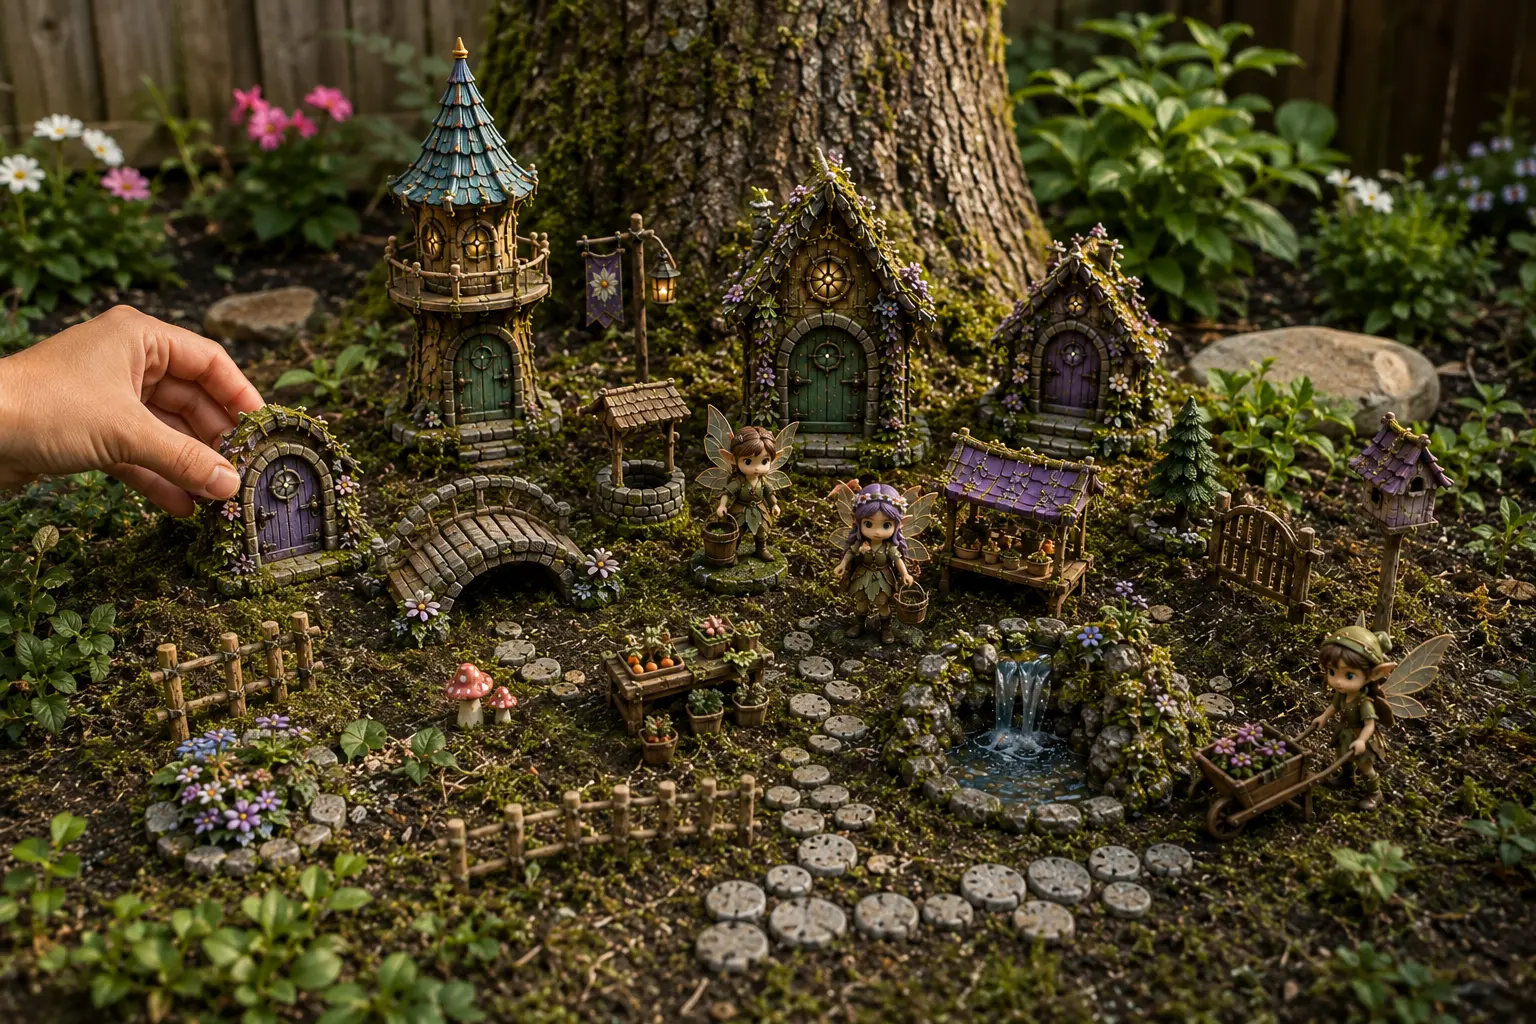
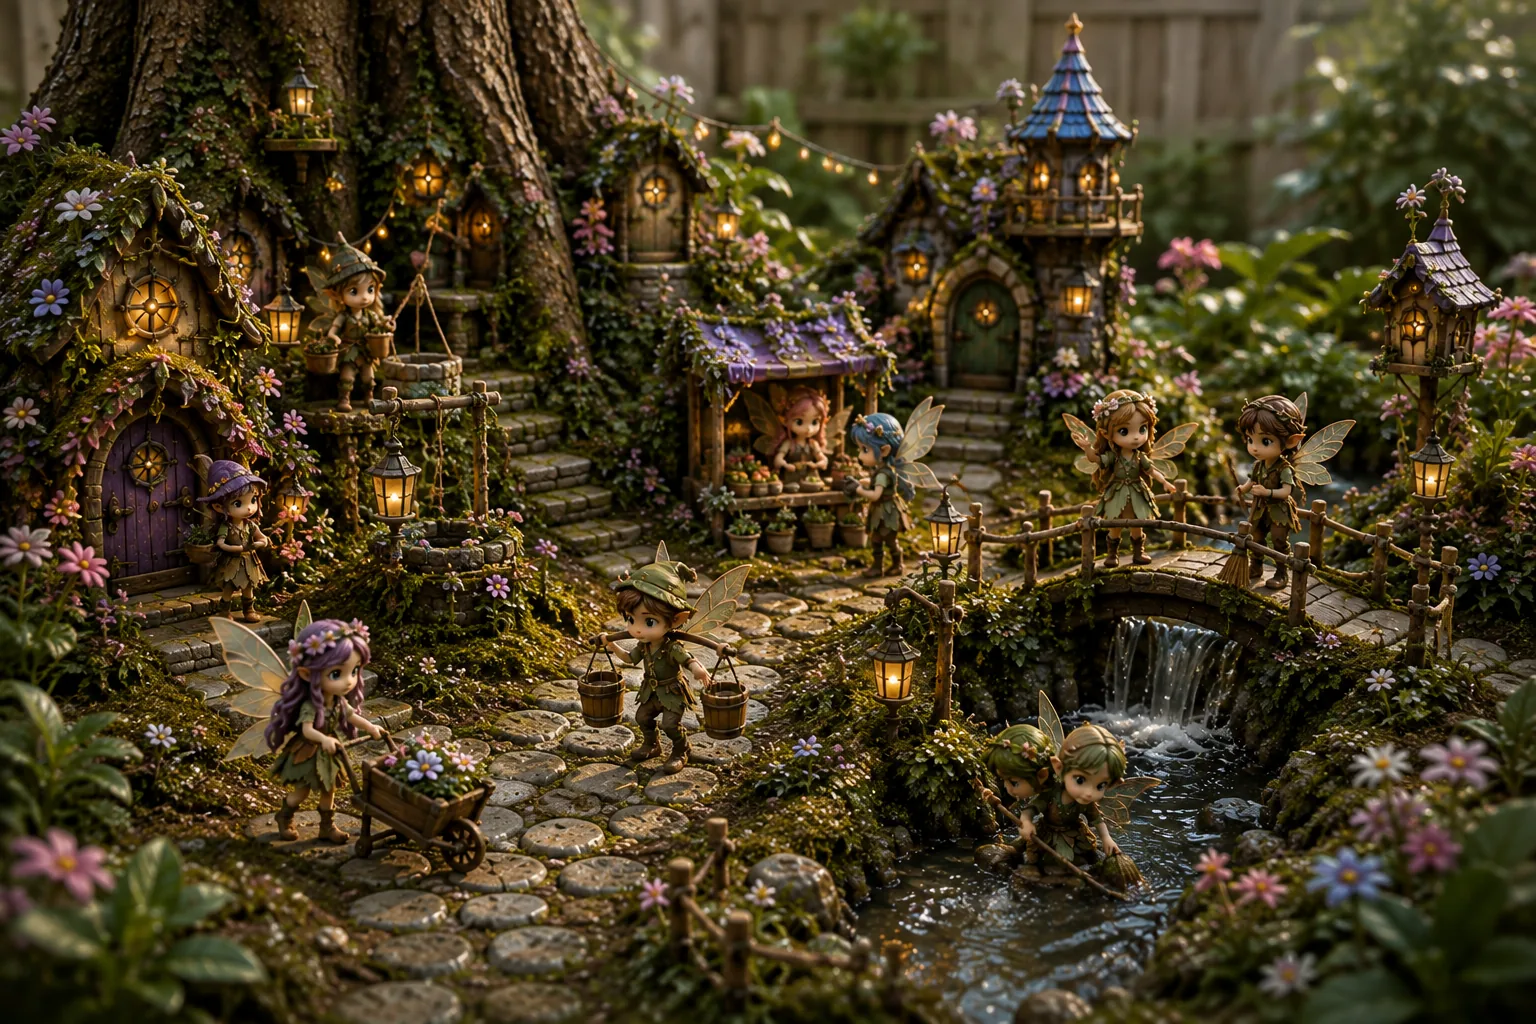
Showing 5 of 5 villages.
Print and plan
Fill this in together before anything is carried outdoors. It keeps the story, the permission and the removal date in one place.
Gemnix · Rest everything on the surface. Fix nothing to a living tree or plant. Take it all home again.
Care, safety and nature
A Feywild Village should leave a place exactly as it was found. These rules come first — before any build, in any space.
Never place items on public, protected or privately owned land without permission.
Installations must not damage trees, roots, plants, habitats, waterways or trails.
No nails, screws, wire, glue, paint, glitter or loose plastics — nothing that can harm wildlife or become litter.
Do not block paths, create trip hazards, or introduce food of any kind.
Keep lighting low, warm and occasional; never light in a way that disturbs nocturnal wildlife.
Follow the age guidance, small-parts warnings and material information supplied with every product.
Keep installations removable and recoverable, and inspect them routinely.
Follow leave-no-trace principles and all local rules.
Village pilot
We are working with schools, libraries, community groups and families to place the first Feywild villages. Tell us where you are and we will be in touch as places open. Adults only, and please never send details about individual children.